Here is a rough guide to my home brew 2m Moxon (According to some old kitchen scales it weighed in at around 160g, my luggage ‘scales’ said .2kg, but it only shows up .1kg units  )
)
I built it to take to ZL and VK, so the dimensions were for frequencies a little higher than the UK, although it seems to work fine here! It was made to be fairly easily changed from vertical to horizontal. (Although I do have to pull the mast down to do so)
To build it I needed:
A small plastic chopping board (From a pound shop) (For centre)
4 x 36cm lengths of 7mm plastic tube13 (For spreaders)
4 x 6cm lengths of 10mm plastic tube3 (to attach spreaders to the centre)
2 x15mm Plastic Pipe Clip – Saddle Band (To facilitate vertical mounting)
8 x tie wraps (To attach the 10mm tube and pipe clips to the centre)
1 x BNC bulkhead connector (female/female)
1 x BNC plug (suitable for RG174 coax)
1 x 4 way choc block
4 x short pieces of heat shrink tubing (to ensure a snug fit between the 6mm and 10mm tubes)
a short piece of RG174 coax
some wire (for the antenna!)
2 x short pieces of shock cord (to join the elements)
1 x CD (as a template for the centre!)
The CD was used as a template for marking out the circular centre for the antenna, which was then cut out with a jigsaw, and tidied up with a file. The centre hole was drilled out and tidied with a file as well (this fitted well half way down one of the sections of my travel pole, but seems to rest on the top of one of the sections of my ‘normal’ 8m pole, it could do with being enlarged slightly so that it a snug fit on a section rather than balancing on the top of one..)
Using one of the on-line Moxon calculators, the dimensions were calculated, the difficult part was trying to remember all about sines and cosines  and the centre lines drawn for the 4 x 6cm 10mm tubes to be attached for the spreaders. followed my lines at 5mm either side.

4 holes were drilled for each 10mm tube, 2 at 2cm from the centre and 2 at 5.5cm from the centre.
A hole was drilled through each of the 6cm long 10mm tubes, 1cm from the end, large enough to be able to fit a tie wrap through. This serves 2 purposes.. To attach the 10mm tube to the centre, and to act as a ‘stop’ for the spreaders when they are inserted.
The 4 x 10mm tubes were then tie wrapped to the centre. the tie wraps on the outside were also passed through the screw holes for the pipe clips, fastening those to the centre too.
Note: the tie wraps in the centre have the ‘lock’ part away from the centre line so that they don’t foul the pole when used in the vertical position.

note the tie wraps through the middle of the tubes nearest the centre
The BNC bulkhead connector can now be added too..

Spreader with notch in one end and heat shrink on the other
The 4 spreaders each had a notch cut at one end to enable the wire to be held in place.
on the opposite end to the notch, I added 4cm of heat shrink tubing to prevent the thinner tube falling out of the wider one when putting the wire on.. (Truth be told, I actually squashed the end of the 7mm tube slightly to make it tighter (don’t tell anyone  ))
))

The slightly squashed (don’t tell anyone..) and heat shrink covered spreaders insitu
Once that was done, it was a case of cutting (and folding back the excess) of the antenna wires, and joining the ends with short pieces of shock cord, joining the short length of RG174 and the driven element in the chock block, and threading the wires through the slots on the end of the spreaders. I actually used quite heavy stranded wire so that I could bend it to 90 degrees at the corners, so at least it looked nice 
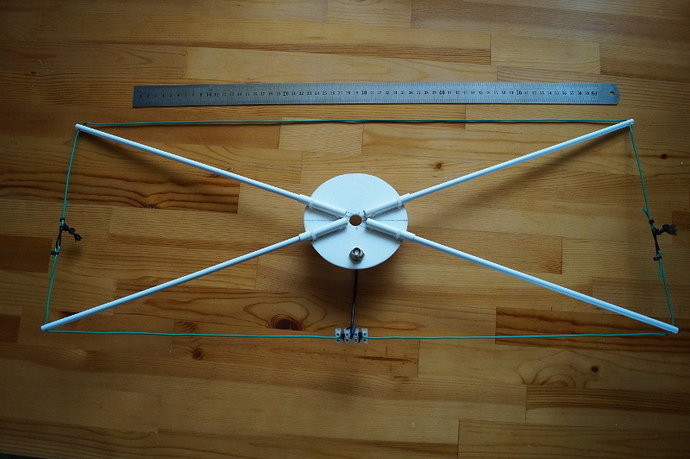
The completed antenna.
It takes a couple of minutes (at most), to build on site, I’ve used it with a short length of RG174 to the rig with the travel pole, not ideal, but weight was paramount for travel.

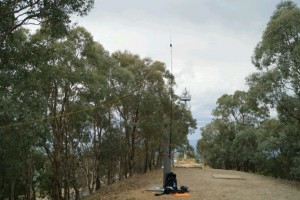
With a length of RG58 high on the 8m pole – Callow Hill
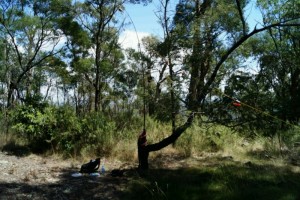
Antenna in use with a run of rg58 wound around the 8m pole.It works fine high up, but in windy conditions it may be necessary to drop the pole down one or two sections as it does tend to sway about in the wind!





 (apparently the suspicious activity is related to vehicle crime, according to numerous other signs regarding locking your car and removing everything from view)





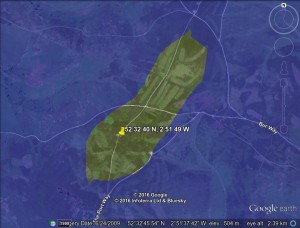



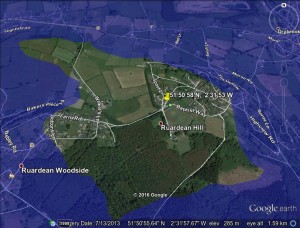
 There is a radar dome there… somewhere!
 The ‘shack’ looking like it’s at the end of the world!
 ‘Spot the battery’…. it’s in the bag!
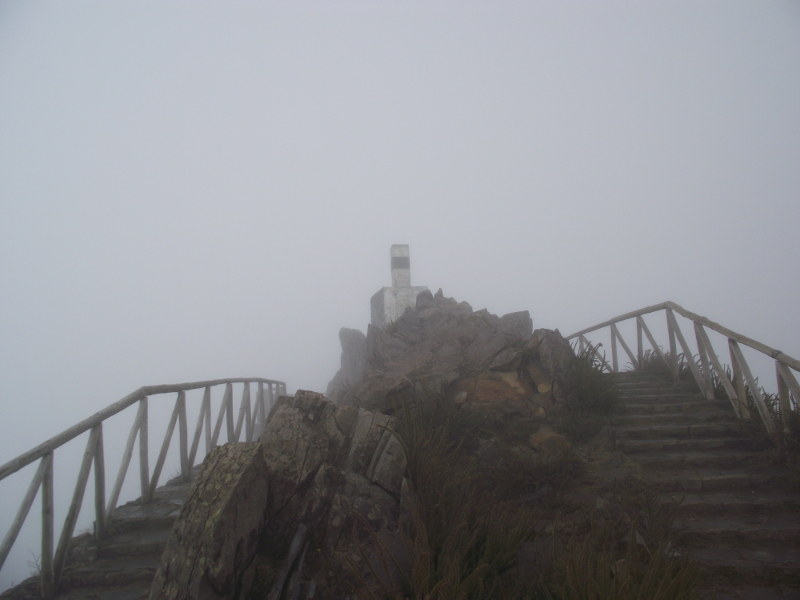 View up to the highest point.
 The path ‘PR1’, apparently to nowhere!
 Take a right turn through the woods!
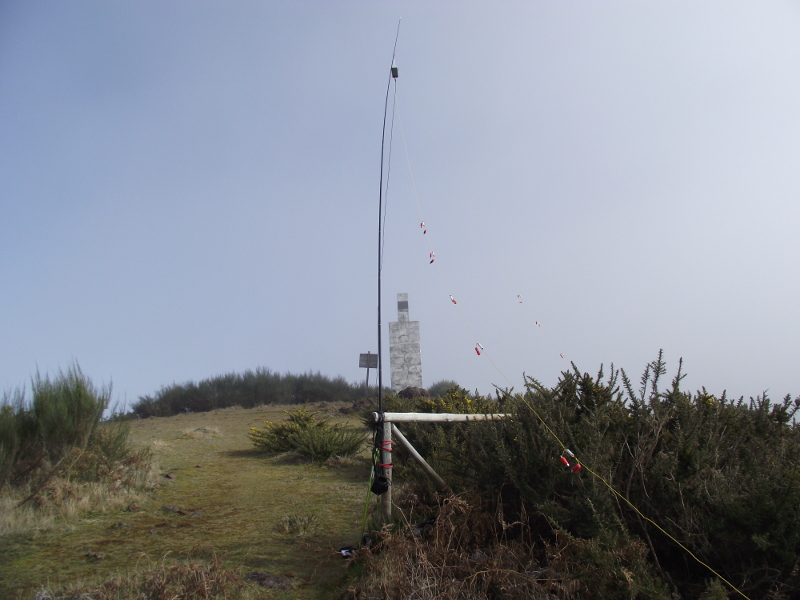 No need for a guying kit!
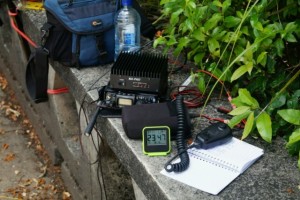
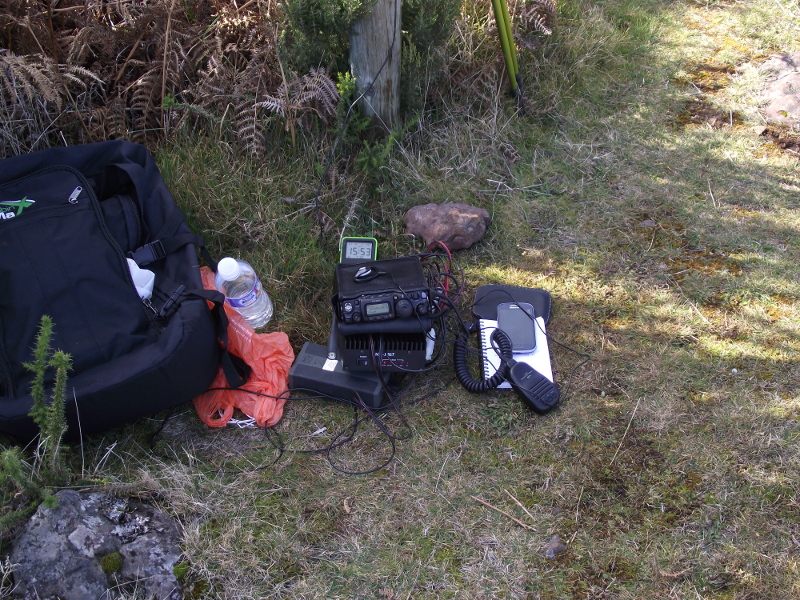 The extensive ‘shack’
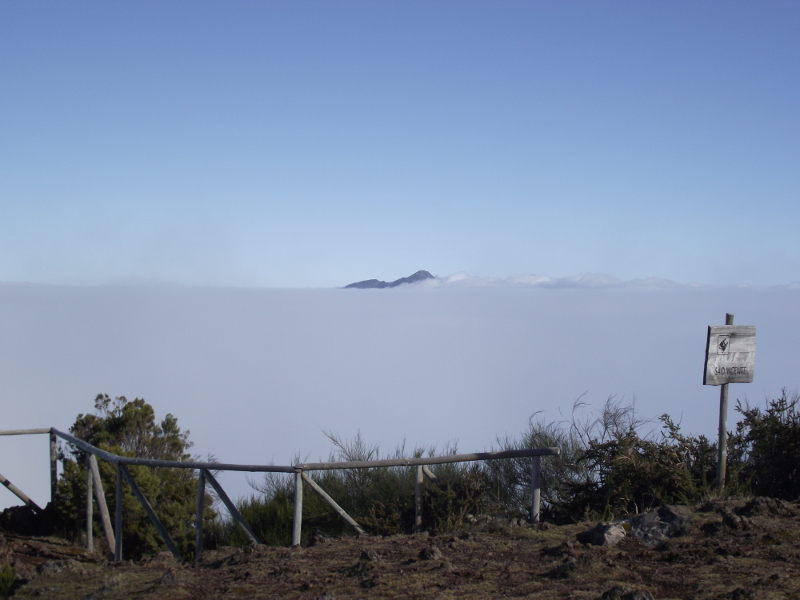 At last! A view, of sorts…
 Was I going closer to the edge to take a photo? Absolutely not!
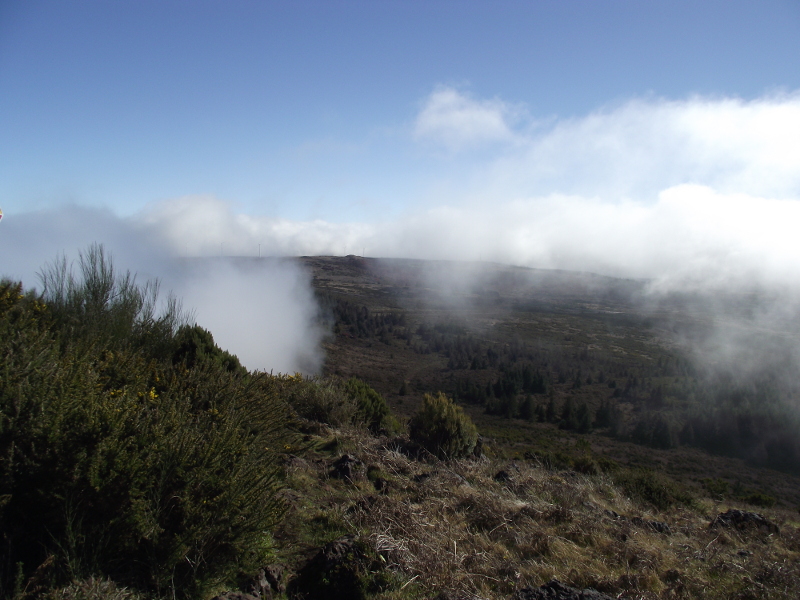 Just about ready to descend, clouds started clearing!